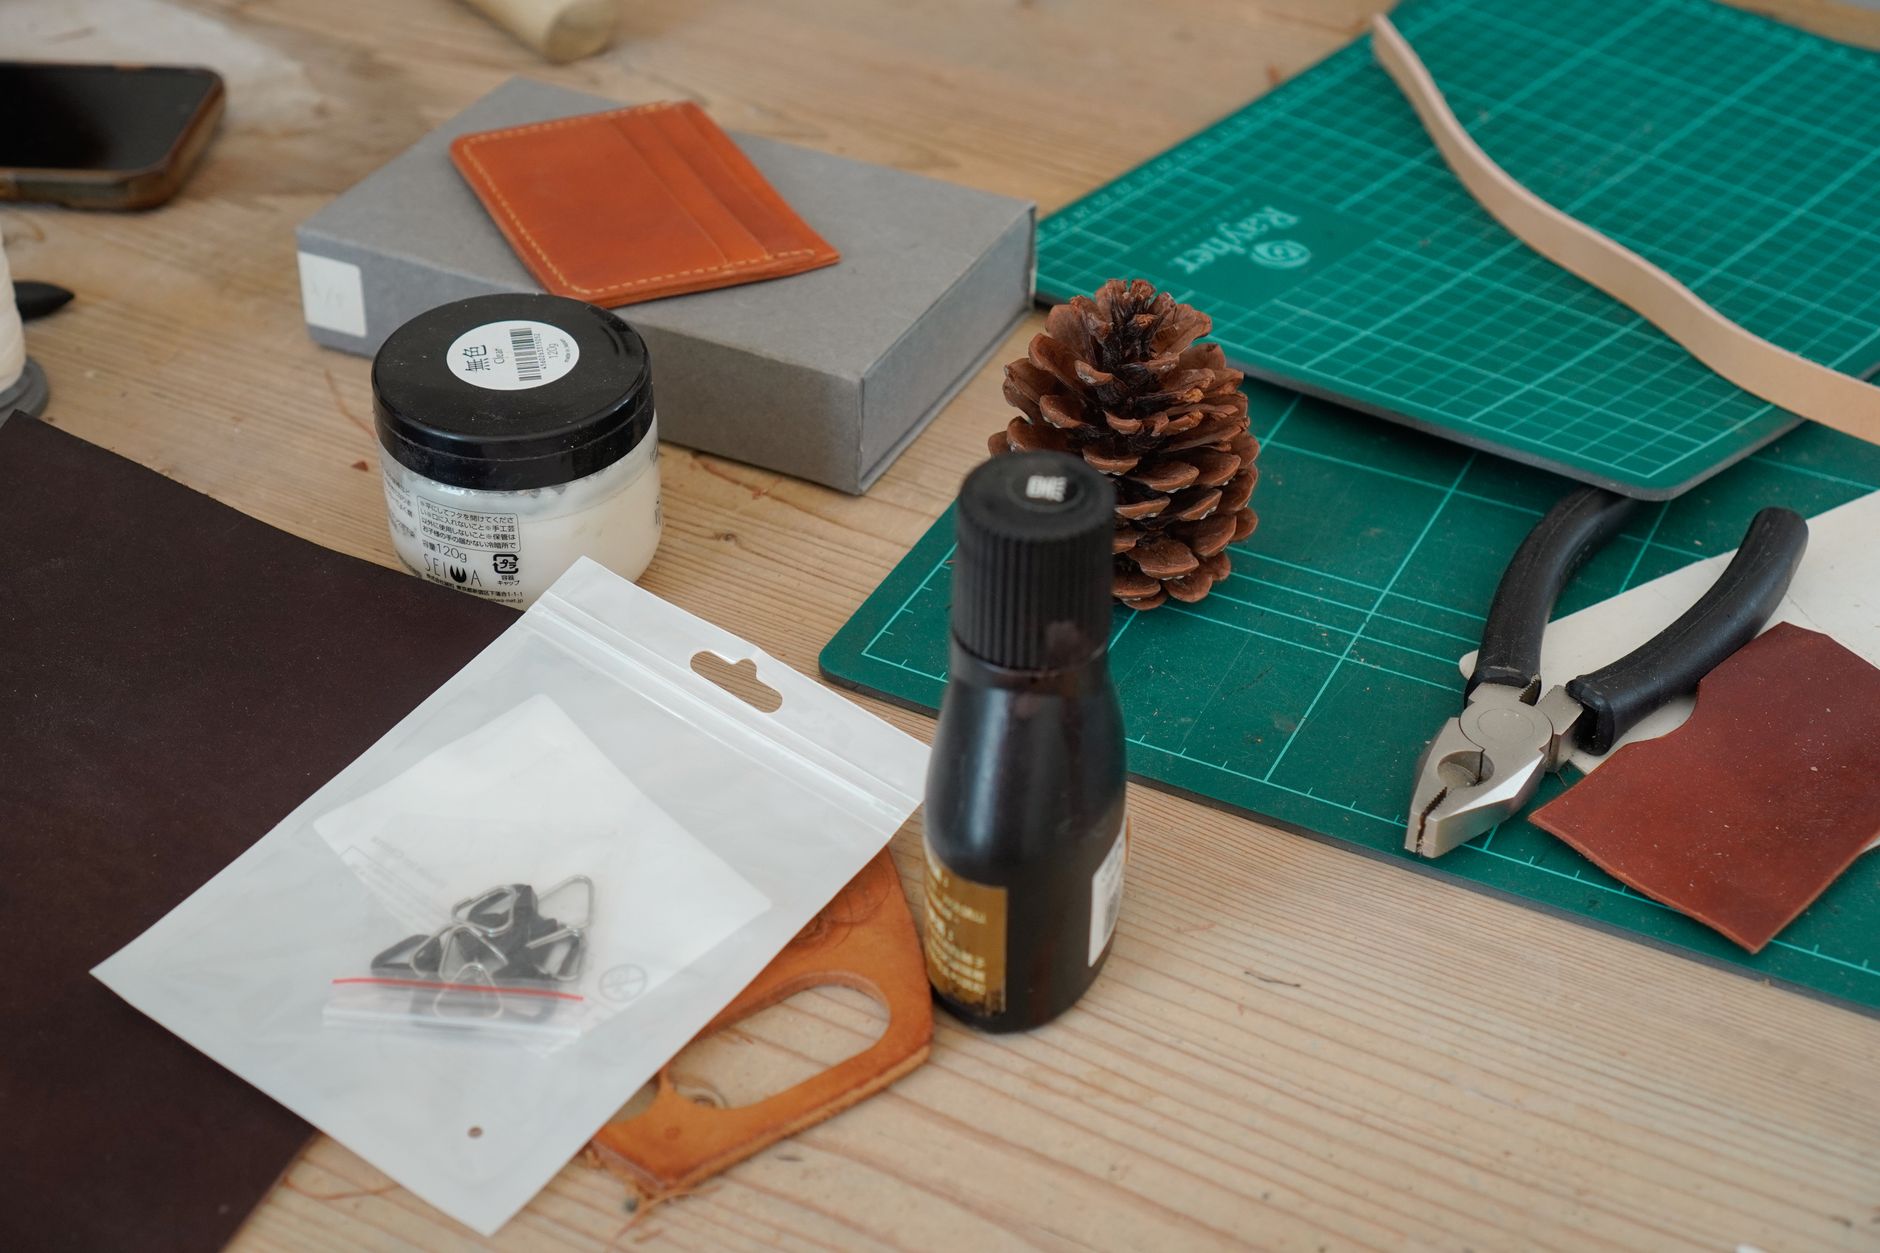
Painting leather gives a tired bag a second life, changes the colour of a jacket, or customises a pair of shoes, provided you treat leather as leather rather than as canvas. The technique is within reach at home, but it calls for careful preparation, a paint suited to the flex of the material, and proper fixing, or the colour will flake at the first crease. Here is the full method, from choosing the leather to the finish, and what separates an amateur result from a workshop job.
Which leather can you paint?
Not every leather reacts to paint the same way. Its original finish, smooth, aniline, pigmented or napped, decides the preparation it needs and the product to use, as detailed in our guide to cleaning leather according to its finish.
| Type of leather | Does it take paint easily | What to know |
|---|---|---|
| Pigmented (corrected-grain) leather | Yes | Already covered with a finish, it is the easiest leather to repaint after light sanding. |
| Smooth full-grain leather | Yes, with care | A natural, porous surface: thorough degreasing is essential before the first coat. |
| Aniline leather | With caution | An unprotected surface: a penetrating dye is preferable to a film-forming paint, and always test on a hidden spot. |
| Patent leather | Difficult | The original lacquer must be stripped before any new coat, or the paint will not hold. |
| Suede and nubuck (napped leather) | No, not with ordinary paint | Open fibres: a dye spray made for napped leather replaces paint, see our guides to suede and nubuck. |
Preparing leather before painting
Preparation matters more than the paint itself: a poorly cleaned surface makes even the best acrylic paint flake off. Start by fully degreasing the piece with a leather stripper or cleaner, focusing on the most handled areas, bag handles or shoe toes. This step removes the wax, cream and grease that build up and stop any paint from holding for long.
On a closed surface, smooth or patent, light sanding with fine sandpaper opens the grain and helps the paint grip. Then mask off any areas you want to protect with tape, soles, linings, stitching you do not want to repaint. Before applying paint to the whole piece, always test it on a hidden spot, a tab or the inside of a pocket, to check the real colour and rule out any reaction with the material.
Choosing the right paint for leather
Leather bends, stretches and rubs constantly: a paint designed for a rigid surface cracks on it quickly. Leather-specific acrylic paints, sold in hardware shops and in shops specialising in leatherwork and customisation, rely on a flexible binder that forms a film resistant to micro-cracking once dry, rather than a brittle coating.
Two families stand apart. Film-forming paint lays down a layer of colour on the surface, opaque and fully covering, suited to pigmented leather or to a radical colour change. Penetrating dye, by contrast, colours the material in depth without forming a film: it suits aniline or full-grain leather better, when you want to keep its natural feel. On a piece that is already dark green or red, always plan for more coats than advertised to cover a deep or saturated colour.
The shade itself deserves a trial run too. A colour often looks darker once dry and built up in several coats than on the bottle’s swatch, especially over leather that is already coloured underneath. A small offcut of leather, in the same finish as the piece to be painted, makes a reliable test before starting on a whole bag or pair of shoes.
The tools for painting leather
Four kinds of tools cover most of a leather-painting project.
- A leather stripper or cleaner, to degrease and remove the original finish.
- Fine sandpaper, to lightly open a smooth or patent surface.
- Soft brushes, a sponge, or an airbrush, depending on the precision needed: an airbrush gives an even finish with no brush marks, but the cup needs cleaning at every colour change.
- A finishing varnish, matte, satin or gloss, to protect the colour once dry.
Also set aside gloves, a clean cloth and a ventilated space, since most products give off solvent fumes while drying. A low-tack masking tape, the kind used for fine painting rather than household work, keeps crisp edges around soles, zips and hardware without lifting the surrounding finish when it comes off.
Painting leather step by step
Once the piece is degreased, sanded if needed and masked off, paint always goes on in thin coats rather than one thick one, which runs and cracks as it dries.
- Apply a first coat, well diluted, as a light veil, to grip the material without drowning it.
- Let it dry fully between coats, for the time the manufacturer states, usually several hours.
- Repeat two to three times, in crossed coats, until the colour is even and fully covering.
- Check the colour in full light before the last coat, since touch-ups show more clearly over paint that has already dried.
Whether by brush or airbrush, the principle stays the same: little product, plenty of patience, and always the whole piece treated edge to edge to avoid a visible line between painted and original areas.
Fixing and caring for painted leather
Unfixed paint wears quickly, flakes at creases and marks on contact with a light-coloured garment. Once the last coat is fully dry, apply a finishing varnish suited to leather, in a thin, even coat, which seals the colour and restores the original look, matte, satin or gloss depending on the product chosen.
Then let the piece rest for at least twenty-four hours before wearing or folding it, the time the varnish needs to fully harden. Once dry, painted leather is cared for like any leather of its finish: regular dusting, protection from water and direct heat, and mild products rather than harsh solvents that would attack the new colour. Our guide to cleaning leather according to its finish covers the right everyday gestures.
What customisation studios do
A professional studio follows the same logic, with more precision and dedicated equipment. The leather is first degreased thoroughly, then a bonding primer is applied to smooth or coated surfaces, so the paint holds over time. The colour is then applied with an airbrush fitted with a fine nozzle, in very light successive coats: the work takes time, since the cup is cleaned at every colour change to avoid any mixing.
Two to three passes are usually enough for an even, intense colour, before a final waterproofing step that protects the work and extends how long it lasts. Drying between coats is rarely rushed, since a layer applied too soon over a still-tacky one lifts and smears instead of bonding. This discipline, more than the equipment, is what separates a studio finish from a home attempt: careful preparation, always thin coats, and drying time respected at every stage rather than cut short out of impatience. The most requested pieces remain the same as at home, bags, belts and shoes, but a studio also recolours leather car seats, a longer job that follows exactly the same steps on a larger scale.